
Using the Context API tool in React Native app

Struggling to manage the state of your React Native project? Then should definitely extend your knowledge and learn the concept of React context API. Stay with me in this tutorial blog to get an easy interpretation of the Context API. Also, in the end, I will build a project using Context API.
What do you mean by Context?
The context in React is nothing but a method considering which you can easily share or pass data across the codebase of your app. You don't have to use the prop drilling method which has emerged to be a much more complicated task for developers like us.
In this fast-paced world, you would not want to pass data through each child component. Right? With the Context and the concept of Context API, your development task can scale up manifold times.
Now, let's cover the theoretical interpretation of the context API
What do you mean by a Context API?
A React tool, Context API simplifies the state management task. You might be thinking ‘How’? It builds global variables and involves a producer and a consumer. These producers and consumers are used in place of props; thereby removing the need for prop drilling methods. The Context API came into use with the update of React to its 16.3 version.
For the implementation of Context API in a real project, you need to use the import statement and import a component createContext and frame the codebase.
In the codebase, this component is used as a function that produces both consumer and provider.
Now, you may be wondering about the significance of Producers and Consumers in Context API.
What is a Provider?
The provider is a type of component that holds the context and passes it to consumers. Thus, it is also referred to as a container. It eases out the process of passing created States. Each context object has this React component called Provider. As the name suggests, it provides context.
What is a Consumer?
It is another React component. It consumes context from the Provider. It accepts the state.
Hence, the functions of both the Provider and the Consumer nullify the prop drilling method.
What method was used before the introduction of the context API?
As already discussed, it is the method of ‘Prop drilling’ where props were used to make state transfer possible through every sub-component. As it seems, it makes the entire process much more complicated and most importantly, it unnecessarily extends the development process.
I am not saying that you cannot use the prop drilling process. It can be manageable in projects which involve few components. But in case you are dealing with a project which needs numerous components. Then it won't be possible for you to consider a prop drilling procedure for every child component.
Thus the topic of the Context API came into play.
Building a project with Context API
Let's get into a practical scenario.
Before starting with a project, I would like to make you familiar with some prior-needed context.
1. Setting up the React Native environment
This is the foremost task that you have to accomplish if you are new to using the React Native framework. You have to install software like Android Studio, Node.js and others. Visit the tutorial blog attached and get the entire setup process.
2. Building a project template
This task you cannot miss as it is in this template that you have to create files for the current project. You have to run the command npx react-native init Login_Project --version 0.68.1. The name of the template will be Login_Project. You can change it if you want.
Note that you have to run the command on the command prompt after opening the command prompt from any local folder of the C drive.
3. Getting Axios library
This is an important dependency for our project. It will allow you to perform the POST request method.
To get to the library install and link to your app, you have to execute npm install axios.
That’s it. Now we will build the codebase.
Project codebase
For the project, we have to build a codebase for two files namely App.js and About.js.
We will start with the App.js file.
Creating the App component
Here, you have to build the React component App in the App.js file. So, get started.

Image 1
Import the components: TextInput, TouchableOpacity, view, Stylesheet, and Text from the react-native library. Also, import the useState hook, createContext, and the React components from react library.
The code also imports About and axios components from the ./About file and axios library respectively.
In the last line, it introduces ContextApi as a constant variable. It holds the context object. It is generated with the createContext() method.

Image 2
The code specifies an App component that will be exported at the end. It has 3 states: password, data and email.
The initial value of data is null, and the initial value of the password and email are undefined.

This code syntax sends the user's email and password to the server. The server will check whether the user exists in its database and return an object with data about the user.
Here, the data will be JSON format.
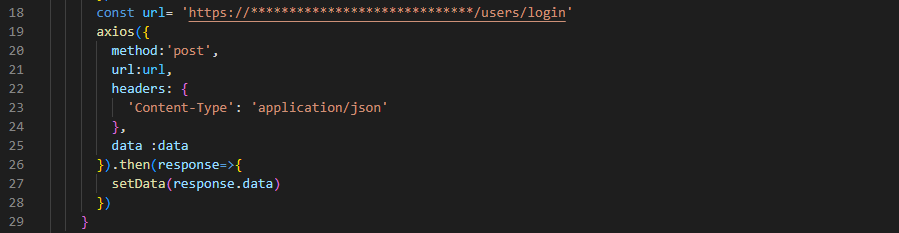
Image 4
The snippet shown in image 4 makes a POST request to the specified URL. Note that, I have hidden some art of the URL with *’s. You have to add your API URL under const url. This POST request sets a header with the Content-Type: 'application/json’. When it gets the response, the setData is called along with the data received.

Image 5
The code syntax shown in image 5 renders the login page or the about page depending on whether you have data or not.
With const [data,setData]=useState(null), it declares a variable called data and sets it to null. It also declares a function called setData that updates the value of data.
TextInput is used to place the placeholder for the user’s email and password.
TouchableOpacity is used to design the button.
Here, the data provided by the user is stored using the Context API.
After this step, use the line export default App to export App components.
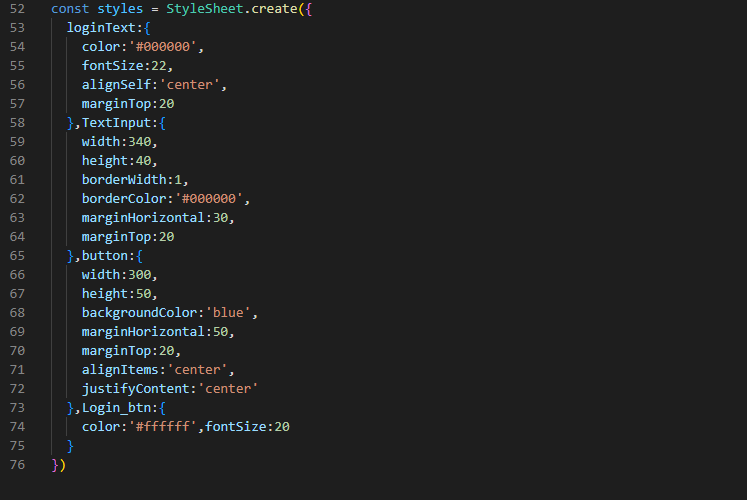
Image 6
The syntax shown in image 6 is to create the StyleSheet object. You can consider the mentioned styling parameters.
Creating the About component
This part is about creating the About component. You have to create the component in the About.js file. Since this file is not created in your project template, you have to create a file About.js in your project template.

Image 7
Apart from the most common React components, you have to import the useContext from the react library and ContextApi from the file ./App.
Image 8
Here, the code specifies the About component. ContextApi is considered to obtain responses. You can see a logout function used in the code syntax. It will allow the user to log out. However, at this moment, the data for the logout function as stirred in the ContextApi is null.
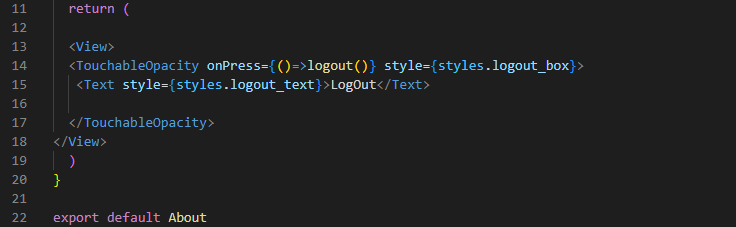
Image 9
It returns the View element. I.e., the screen. The logout button created with TouchableOpacity will allow the user to logout. onPre ss event handler is attached with the button to response to to the event that will occur when the user clicks on the button.
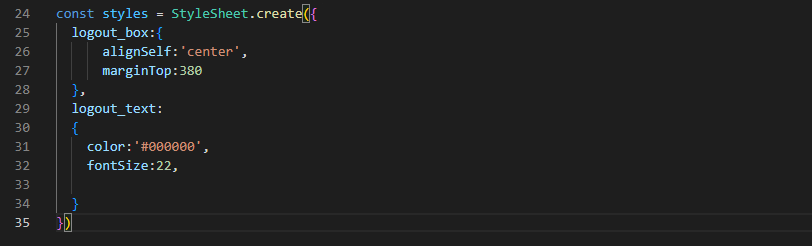
Image 10
The code builds the StyleSheet object to design two other child objects stored in it.
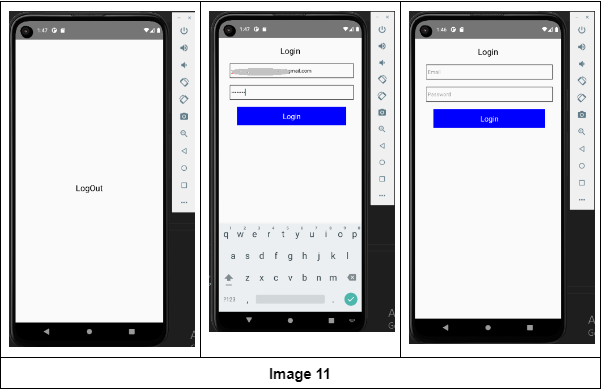
We are at the last segment of the project where we have to run the project.
How to execute the program?
We can run the program on an emulator. However, for this, you have to open the cmd from your project folder and pass npm install. Then you have to pass the command npx react-native run-android on the same cmd. This will run your program on the virtual device. For the output of my project, refer to image 11.
This is all about the Context API in React. Hope you have gained insight from this article.

A science graduate who has a keen interest to lean about new technologies and research area. With an experience in the field of data analytics and content writing, she aims to share her knowledge among passionate tech readers.
